AI video ads: make an ad for a local business, step by step
This page walks through one complete ad, following the lessons in Nova Academy's Starter course. The example is a canned cold brew from a small coffee roaster. Every step has a lesson number. 01-02, 01-06 and 03-01 are free once you sign up; the rest are in the Starter course.
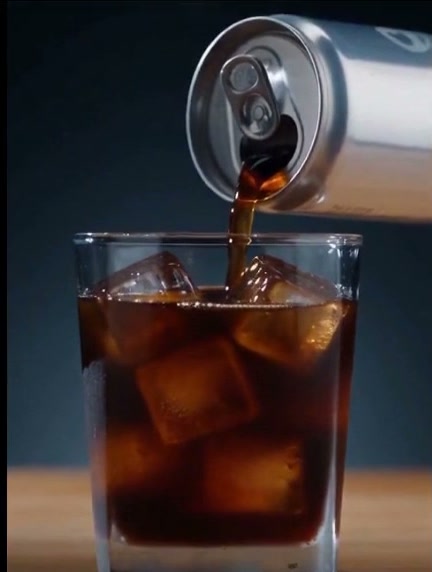
One shot from the ad made in the lessons. Made with Nova.
1. Write one line, and let Nova draft a plan
When you start a new ad, you can write your own idea, use a template, or let Nova suggest one. In the lesson, the idea is a single line: cold brew, fifteen seconds, crack, pour, one swallow.
Nova turns that into a plan: who it's for, the idea, the structure, the shots, what you get, what's still missing, and the estimated credits. Nothing gets generated until you approve the plan.
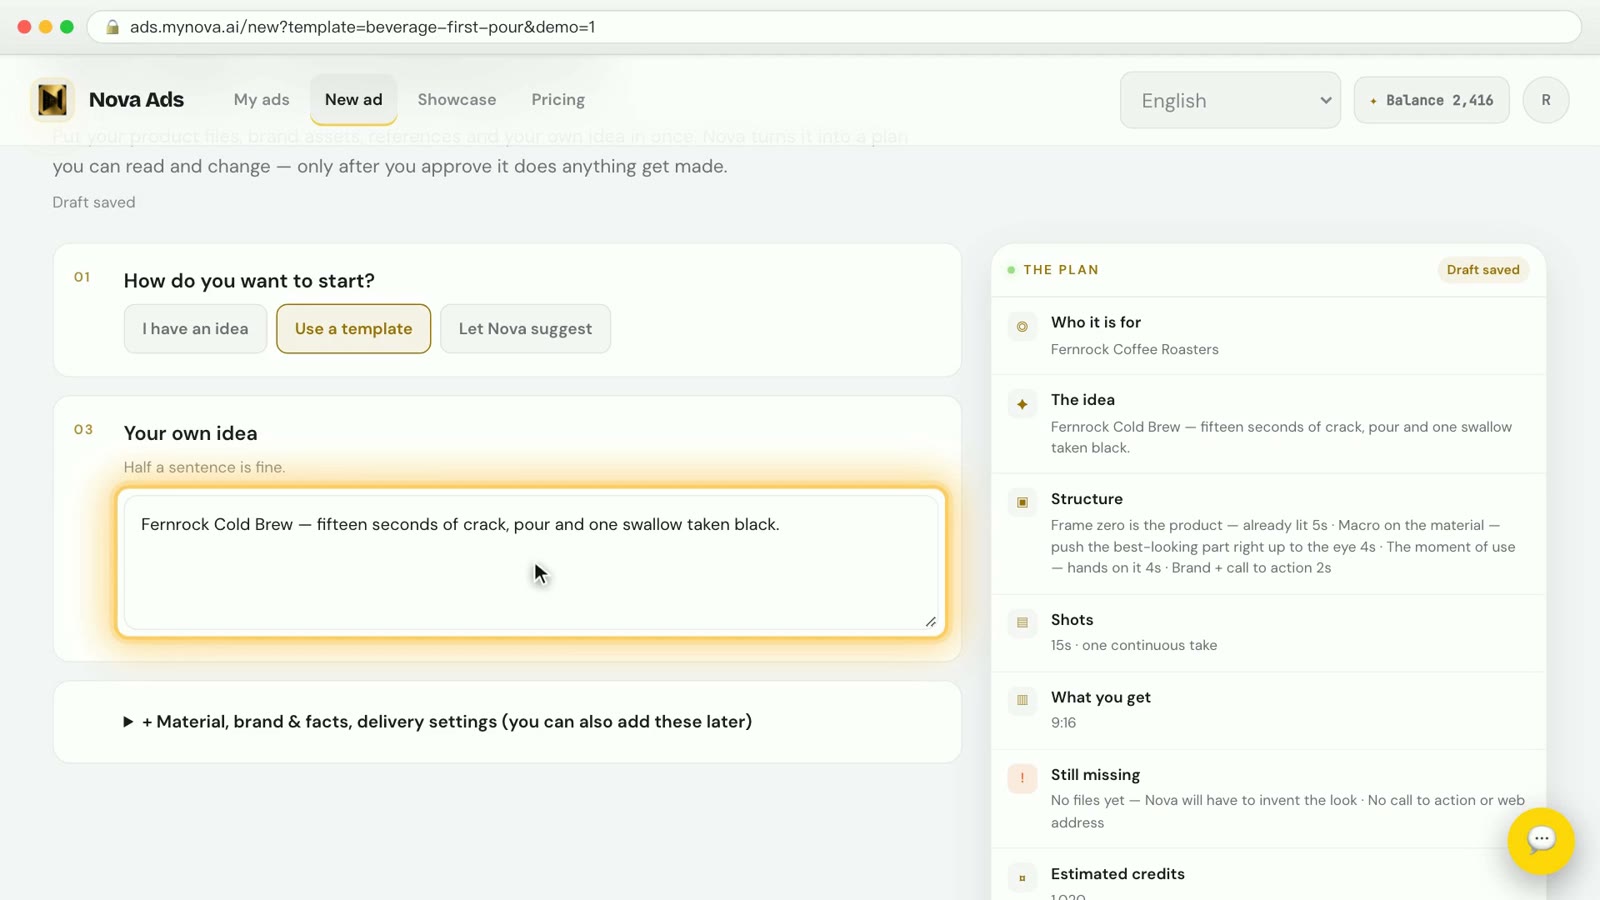
→ Lesson 01-02 "Plan every shot from a ready-made script" (free). You finish with an ad project and 3–4 planned shots, each with a visual description and on-screen text.
2. Lock what has to stay the same: the person and the product
The person and the can need to look the same in every shot. In the lesson you generate a character image first, the yellow warning at the top of the page clears, and then you move on.
→ Lesson 01-03 "Lock what has to stay the same: the person, and the can"
3. Build the shots on the shot board and render
On the shot board you choose whether a single shot can run up to 30 seconds or up to 15, and you can edit each shot's description directly. Then you render shot by shot, 4–5 seconds a clip. If one gets stuck, the lesson covers what to do.
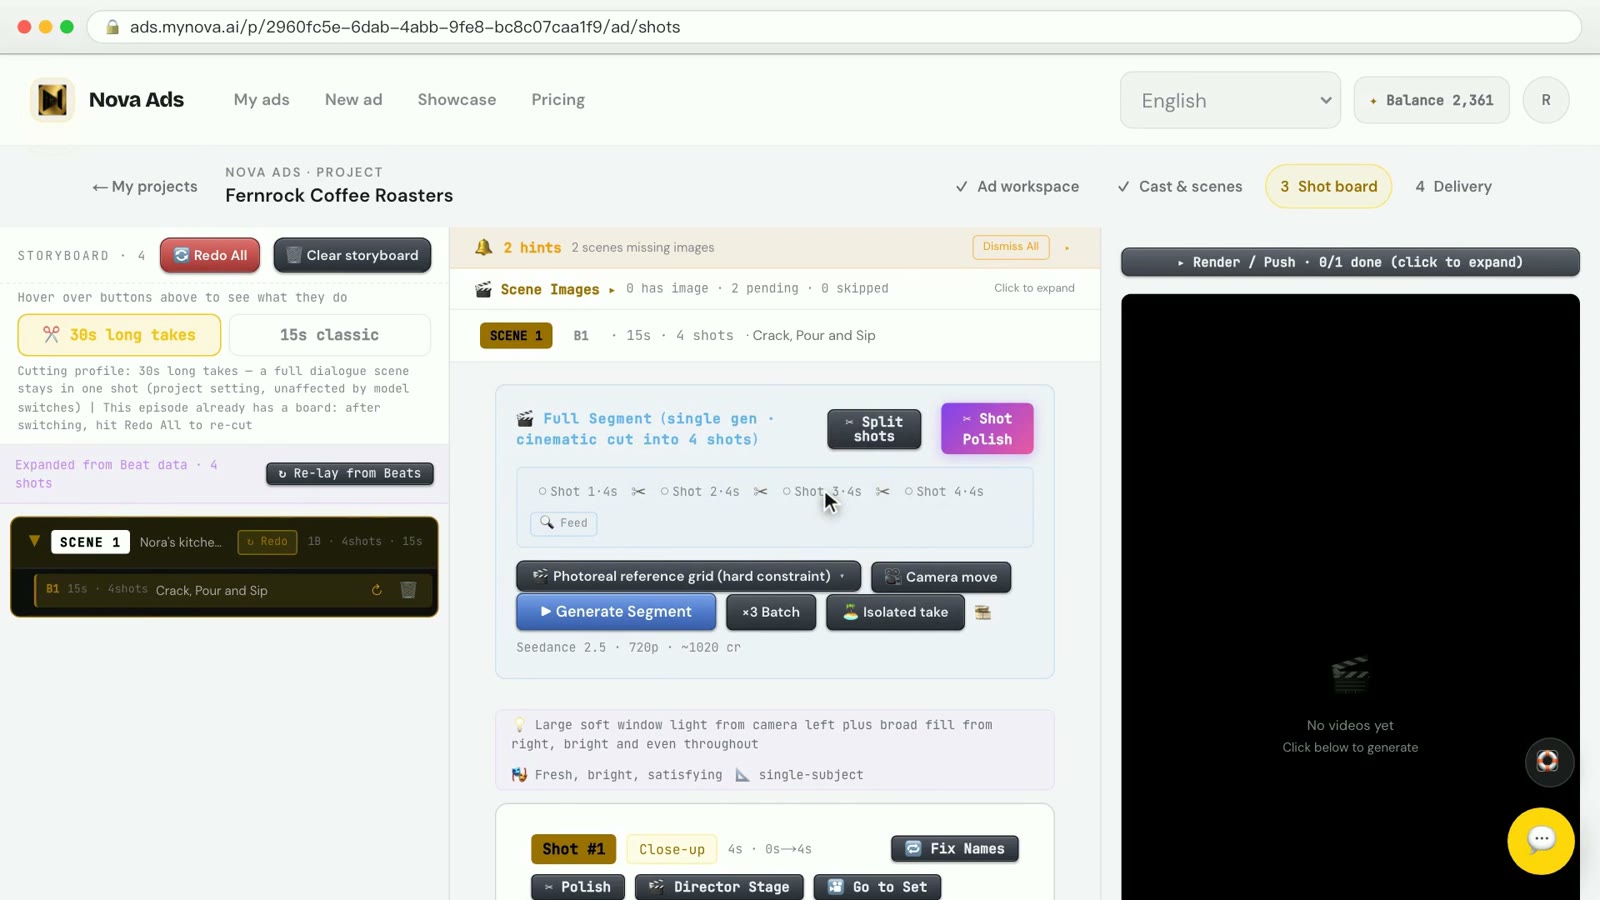
→ Lesson 01-04 "Render — and what to do when it sticks". You finish with 3–4 clips of 4–5 seconds each.
4. Put it together and take it out
On the delivery page, set the end card, logo and language, click "Combine it", and you get one MP4. If the film has dialogue or voice-over, you can also export an .srt file. The page also has a pre-publish compliance checklist to go through before you post. It doesn't block the download, and it is a checklist, not legal advice; Starter lesson 01-T4 has a part on going through it.
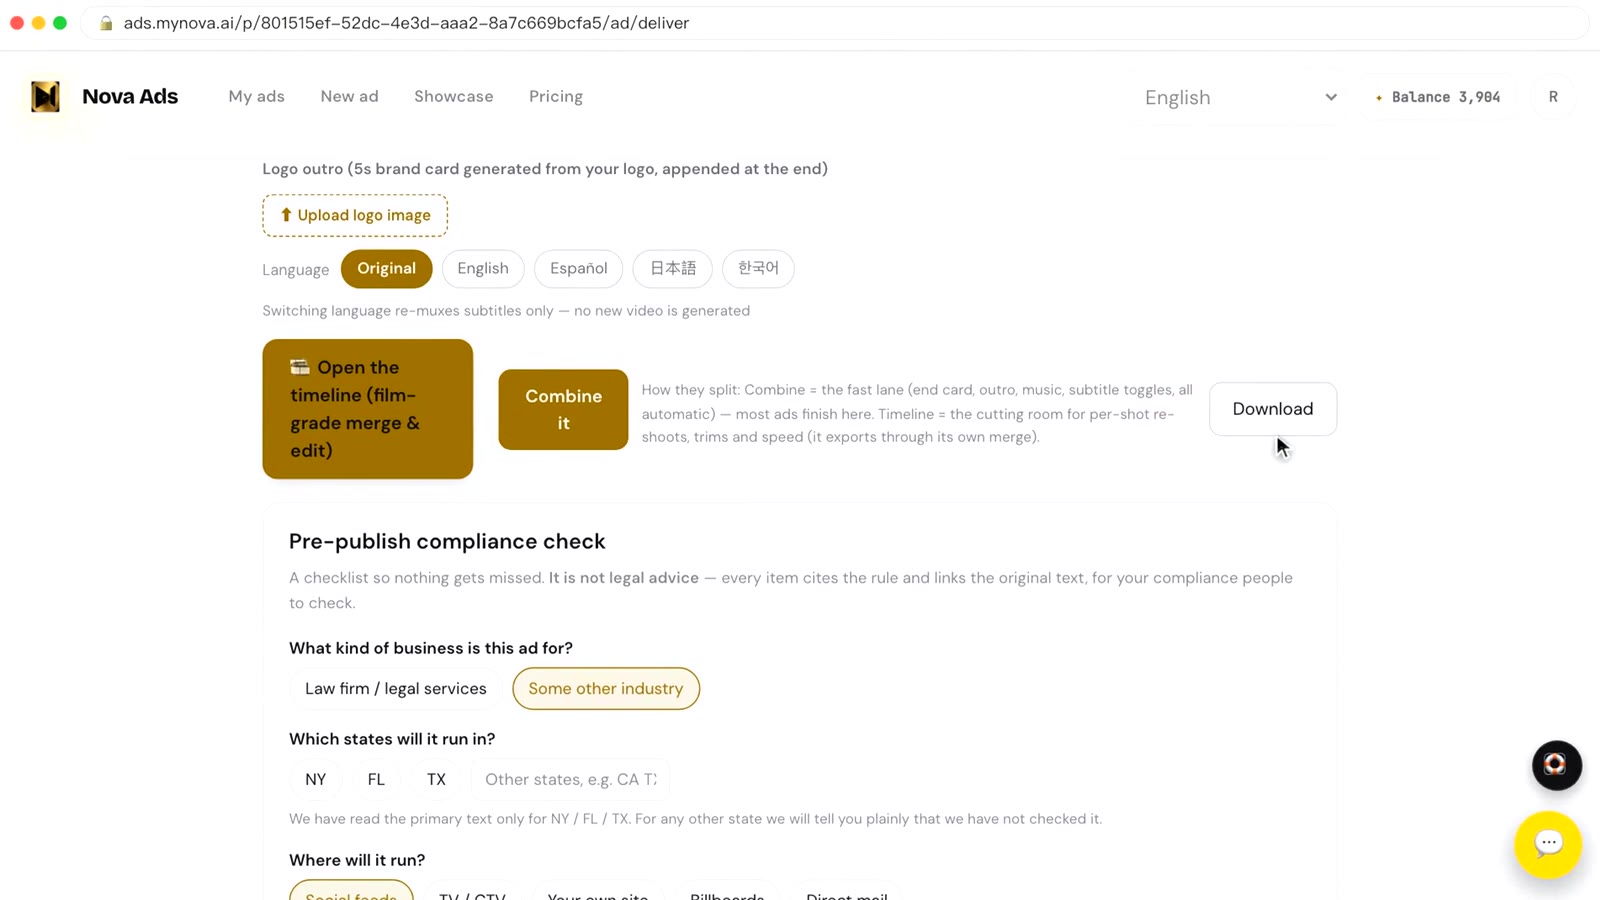
→ Lesson 01-05 "Combine it — and work out what it cost you". You finish with a finished MP4.
5. Work out what it cost
The very first lesson has you write your starting balance down on paper. When you're done, check the balance again: starting balance minus balance now is what this ad really cost. To save credits before you ever click Generate, see the free lesson 03-01 "Saving credits, part one — ad line: three things, all before you click Generate".
Only have materials, no copy?
The shop sent product photos and a few files, but no script? Let the AI read the materials first, then pitch you a few directions.
→ Lesson 01-06 "Only materials, no copy: let AI read first, then pitch directions" (free). For when you only have product shots and materials but no idea how to film it yet: AI reads the materials first, then pitches a few directions.
Make a matching set of ads in one go
A shop has several products and wants one ad for each that looks like a series? Use "📦 Series line". It's in the top bar of the ad workspace, and there's a "Start a series line →" link at the bottom of the delivery page.
The page puts the idea in one line: "One style contract × N products → N videos that look like one family."
1. Create a contract. "New contract" has three parts: "① Style skeleton — what the model actually sees", "② Reference anchors — what locks the look" and "③ Finishing plan — settings saved with this contract". The style header is reused word for word in every item; the timing structure says what each shot shows, and variables like the product name and selling point are filled in per product. 2. Add products. Add them one at a time with "Add item". The first one is automatically the "Pilot". 3. Pilot first, then batch. In the page's own words: "Freeze the contract first — pilot one item, get it approved, then batch. That order is the whole point." Until you freeze it, only the pilot can be generated; after you freeze the contract, "Generate all" unlocks. To change a frozen contract you unfreeze it, which sends it back to draft, and the pilot has to be redone. 4. Deliver side by side. When the set is done, the "Delivery wall" puts every finished video on one page. Once you make it public, the client can view it without signing in.
What it costs: each item is charged by the model, resolution and length set in the contract, at the same rates as rendering a shot on the shot board. A new contract defaults to Seedance 2.5, 720p, 10 seconds: 680 credits an item. Change the model, resolution or length and the price changes with it. "Generate all" charges once for every item not yet made, with no confirmation step, so N items cost N times. Writing the contract, adding items, freezing and unfreezing are free, and so is "✨ Render finals" (adding the logo, music and end card to each one).
→ Lesson 01-T5 "The series line: one style contract, N films" (Ads in Practice pack, from Starter up)
Where to start
- Just looking: sign up free, no card needed. 01-02, 01-06 and 03-01 are among the 10 free lessons.
- Ready to make the whole ad: Starter covers every step above. Compare courses.