AI storyboard tutorial: from script to shots, then get every shot right
The storyboard sits between the script and the render. One scene of the script becomes a list of shots, and each shot says who's in frame, where, and how the camera moves. Get this step right and you won't be re-rendering because the wrong person or the wrong location showed up.
This page follows the lessons in Nova Academy's Creator course: how to break the script down, how to check it, and how to block a shot. Every step has a lesson number.
1. Break the script into shots, one episode at a time
Once the script is set, Nova breaks an episode into a storyboard. That step is charged once per episode: the standard tier is 55 credits an episode and sticks to the script; the pro tier has the director and cinematographer re-read the scene and design the shots, at an extra 150 a scene; once the scenes are split, it asks you to confirm and shows the estimate for the episode before generating.
Decide first whether a single shot runs up to 15 or 30 seconds. Once the episode is broken down, that choice is locked; changing it means redoing the whole episode.
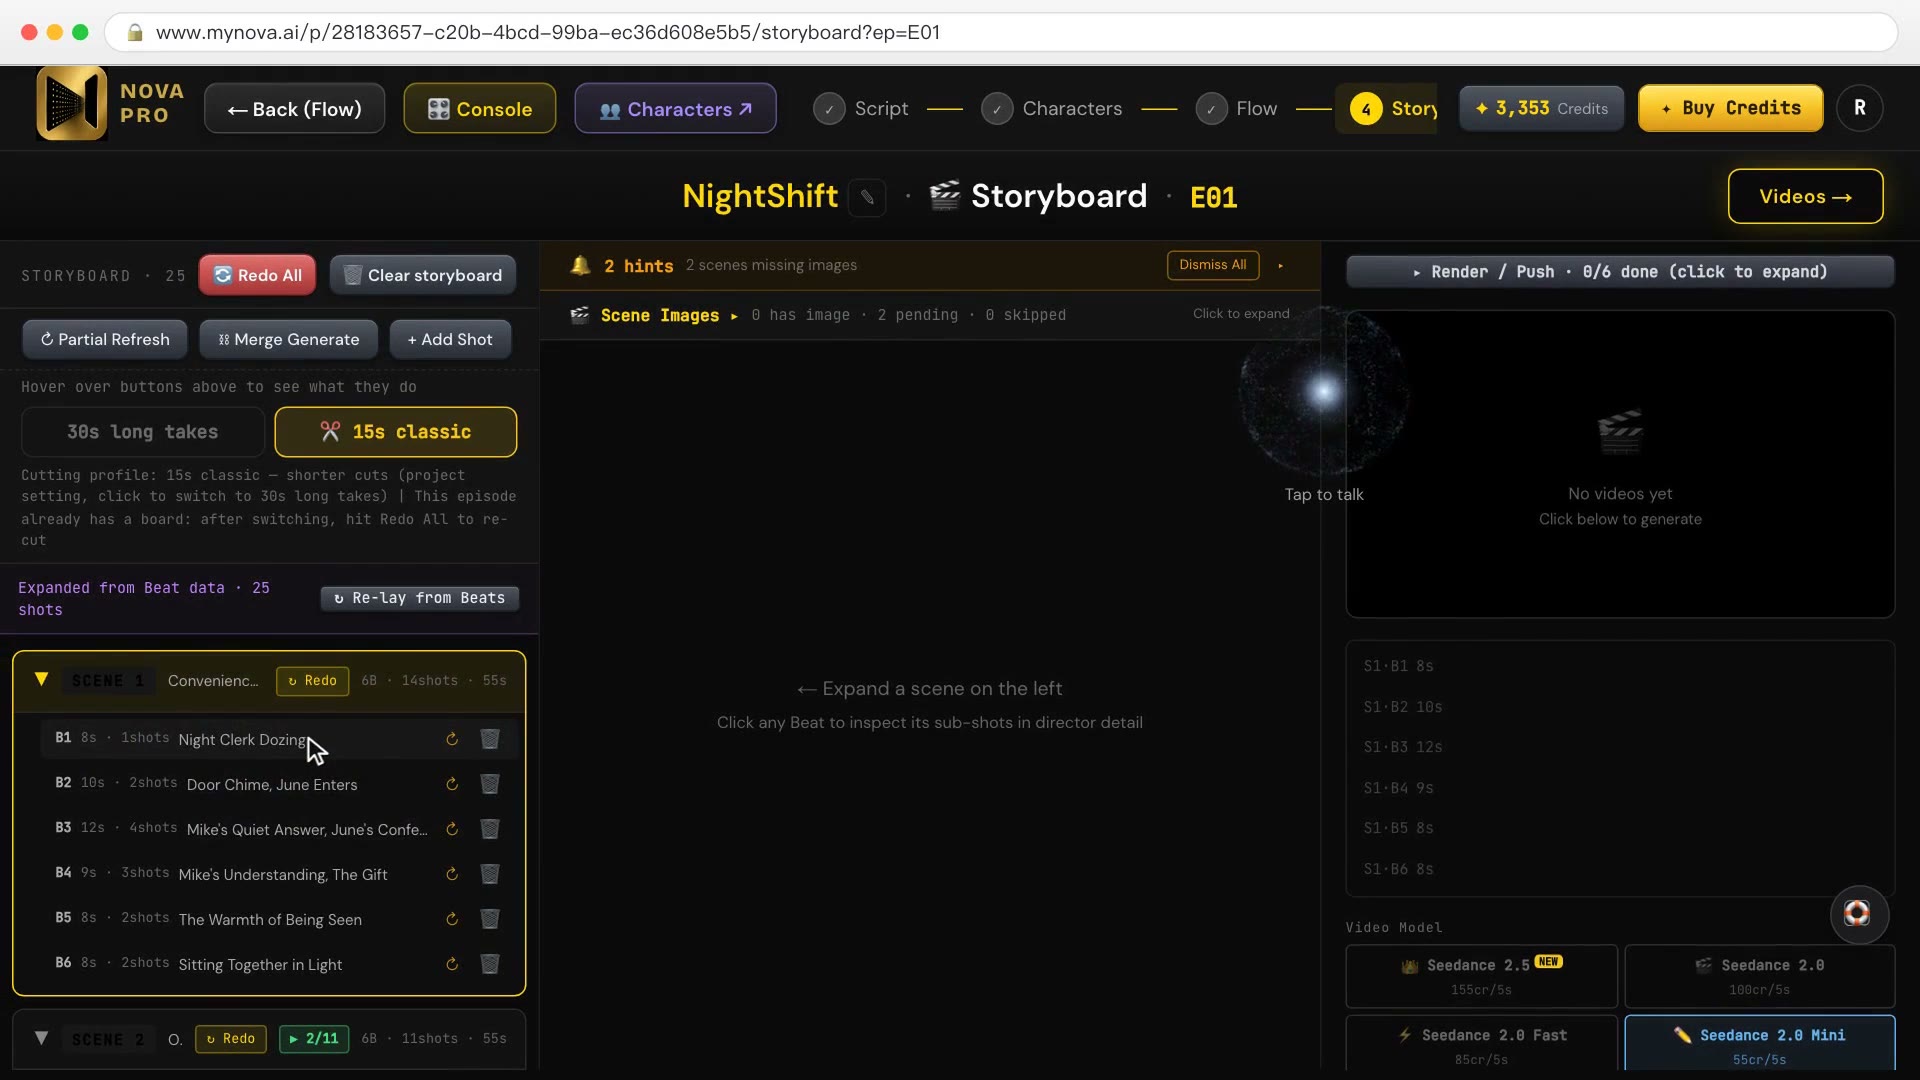
→ Lesson 09-05 "Laying out the storyboard: once per episode, fifty-five — and which button lets you choose"
2. Check every shot: are the right people and scene tagged?
Go through the shots one by one and check the @-tagged character and scene names. When the names match, the render picks up the right person and the right location plate. And put dialogue in the dialogue field, not in the shot description: the spoken language follows the episode's lines.
→ Lesson 04-03 "Storyboard and location plates: make every shot line up". You finish with a 36-shot storyboard for one episode, every shot @-tagged with the right characters and scene.
3. Set the Visual Bible before you render a lot
How the whole film looks (main colours, colours to avoid, lighting, costume style) lives in the Visual Bible. Viewing, editing and saving it costs nothing. But changes only apply to images and video made afterwards; what you've already made doesn't update. So: set the Bible first, then render.
→ Lesson 09-06 "The Visual Bible: the master switch for how the film looks — free to change, but old images don't follow"
4. Block the shot with 3D figures or stick figures
Some shots never come out right from a text description alone: people end up in the wrong place, the camera in the wrong spot. Block it first and render a keyframe as a reference. Both tools open from the shot's button row in the storyboard, and both send the result back to that shot.
### 4a. The Director Stage: block the shot with 3D figures 1. In the storyboard, click "Director Stage" in the shot's button row. It opens in a new tab with "← From storyboard "…"" at the top. 2. Coming from the storyboard, if the project has characters, it first blocks the shot automatically from the shot's story. To redo it, write a line in the "✍️ This beat" box and click "✍️ Auto-block". 3. Adjust by hand: grab a forearm, hand, shin or foot and the whole limb follows; drag the hips up or down to crouch or stand, left or right to turn. Press Ctrl+Z to undo. 4. Click "📸 Snapshot". You'll see "✓ Snapshot taken · next, make the keyframe". Snapshots cost 0 credits. 5. Click "🎨 Make keyframe". The button shows 50 credits. 6. Click "✅ Send to "…"" to go back to the storyboard; the shot now has the stage framing under it. When you render, that image goes to the model as a reference.
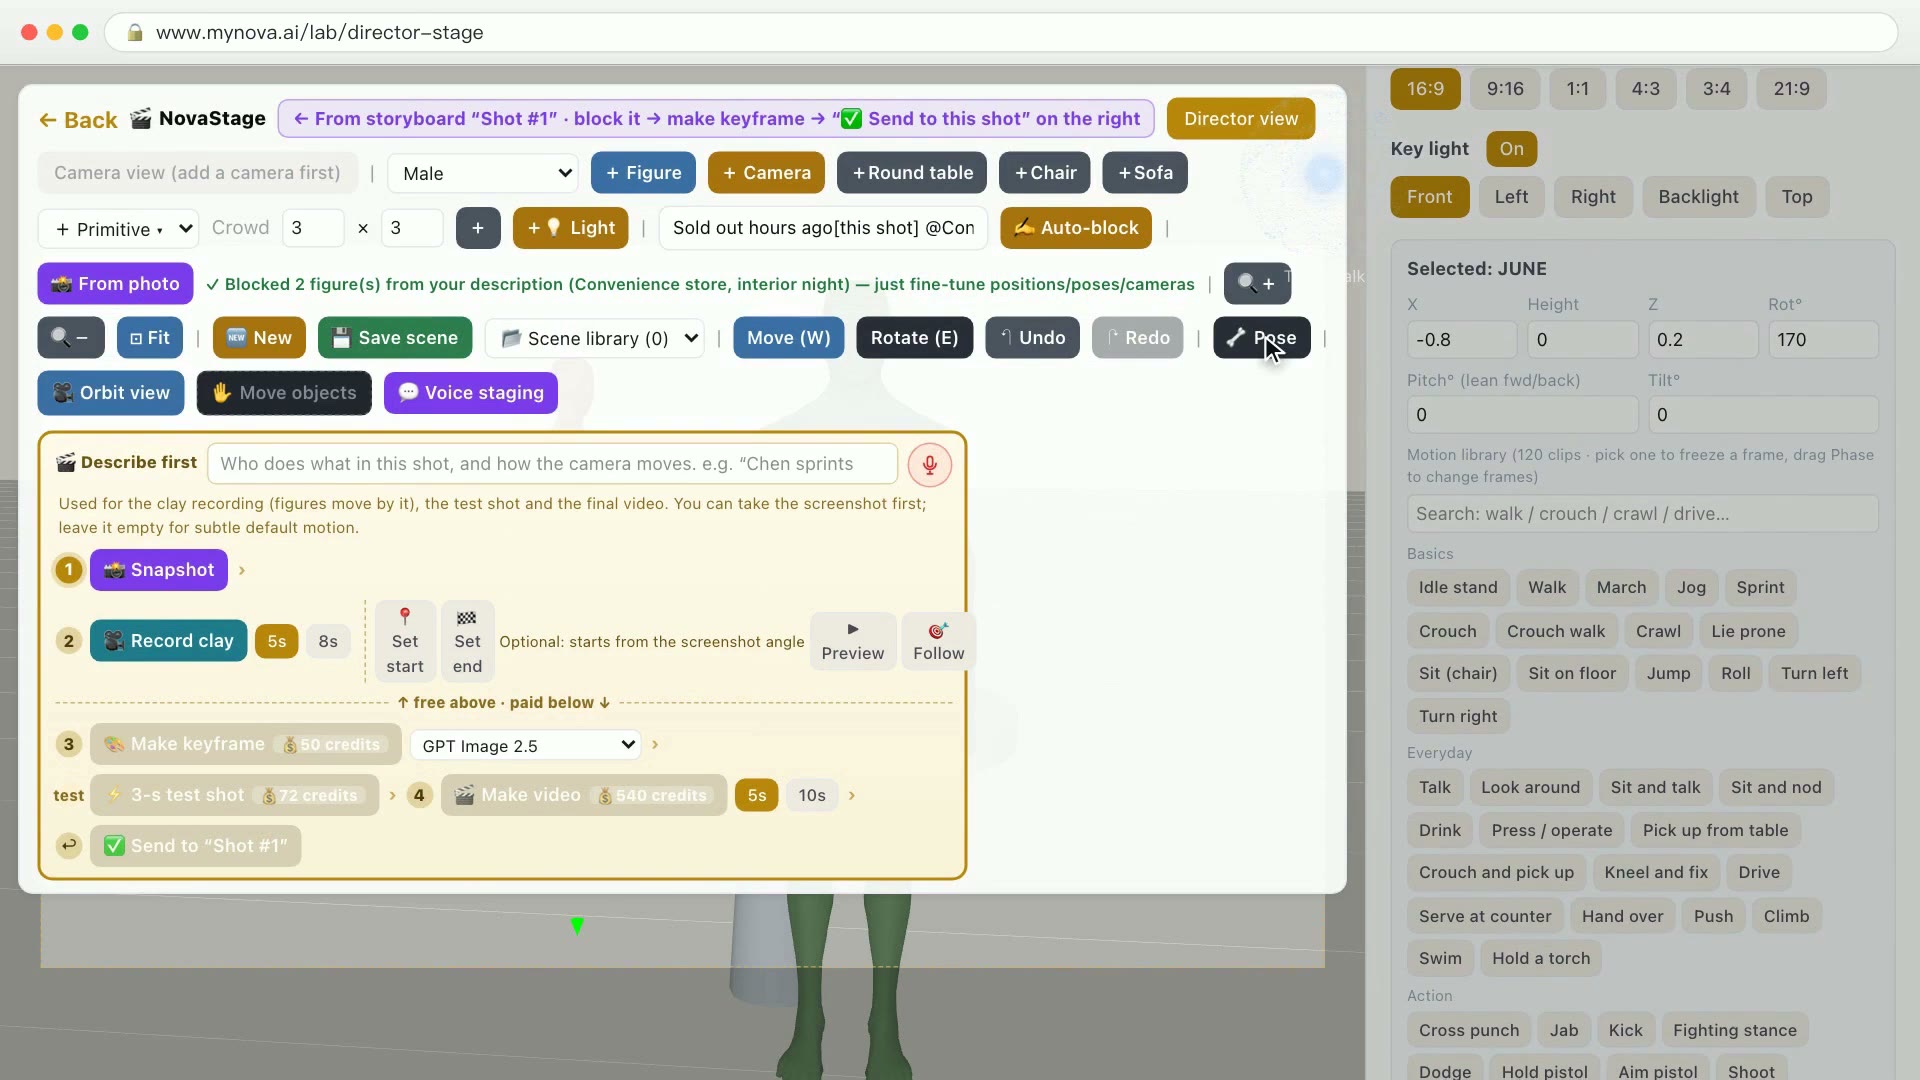
Watch out: "🎥 Shoot" on the monitor makes a keyframe and then a video, and charges for both. If you only want the picture from that camera, click "📸 Snapshot", which is free. Video is priced separately on its own button.
→ Lesson 09-07 "The Director Stage: block the shot with 3D figures, render a keyframe as a reference"
### 4b. Sketch: drag stick figures into place 1. Click "Sketch" in the same button row. The canvas opens in a new tab with the shot's characters and aspect ratio already loaded. 2. "🧍 Pose stickers": each colour is one character. Drag them into place and use the corner handles to turn and scale. 3. "📦 Prop stickers": add tables, chairs and so on. 4. "🎭 Color → character": match each colour to a character name so the model knows who is who. 5. Tick "Follow the sketch strictly" and click "🎨 Render keyframe". The button shows 50 credits. 6. Click "✅ Send to …" to go back to the storyboard, where it works as a reference just like the Director Stage.
The stick figures don't appear in the image; only their positions, poses and framing carry over.
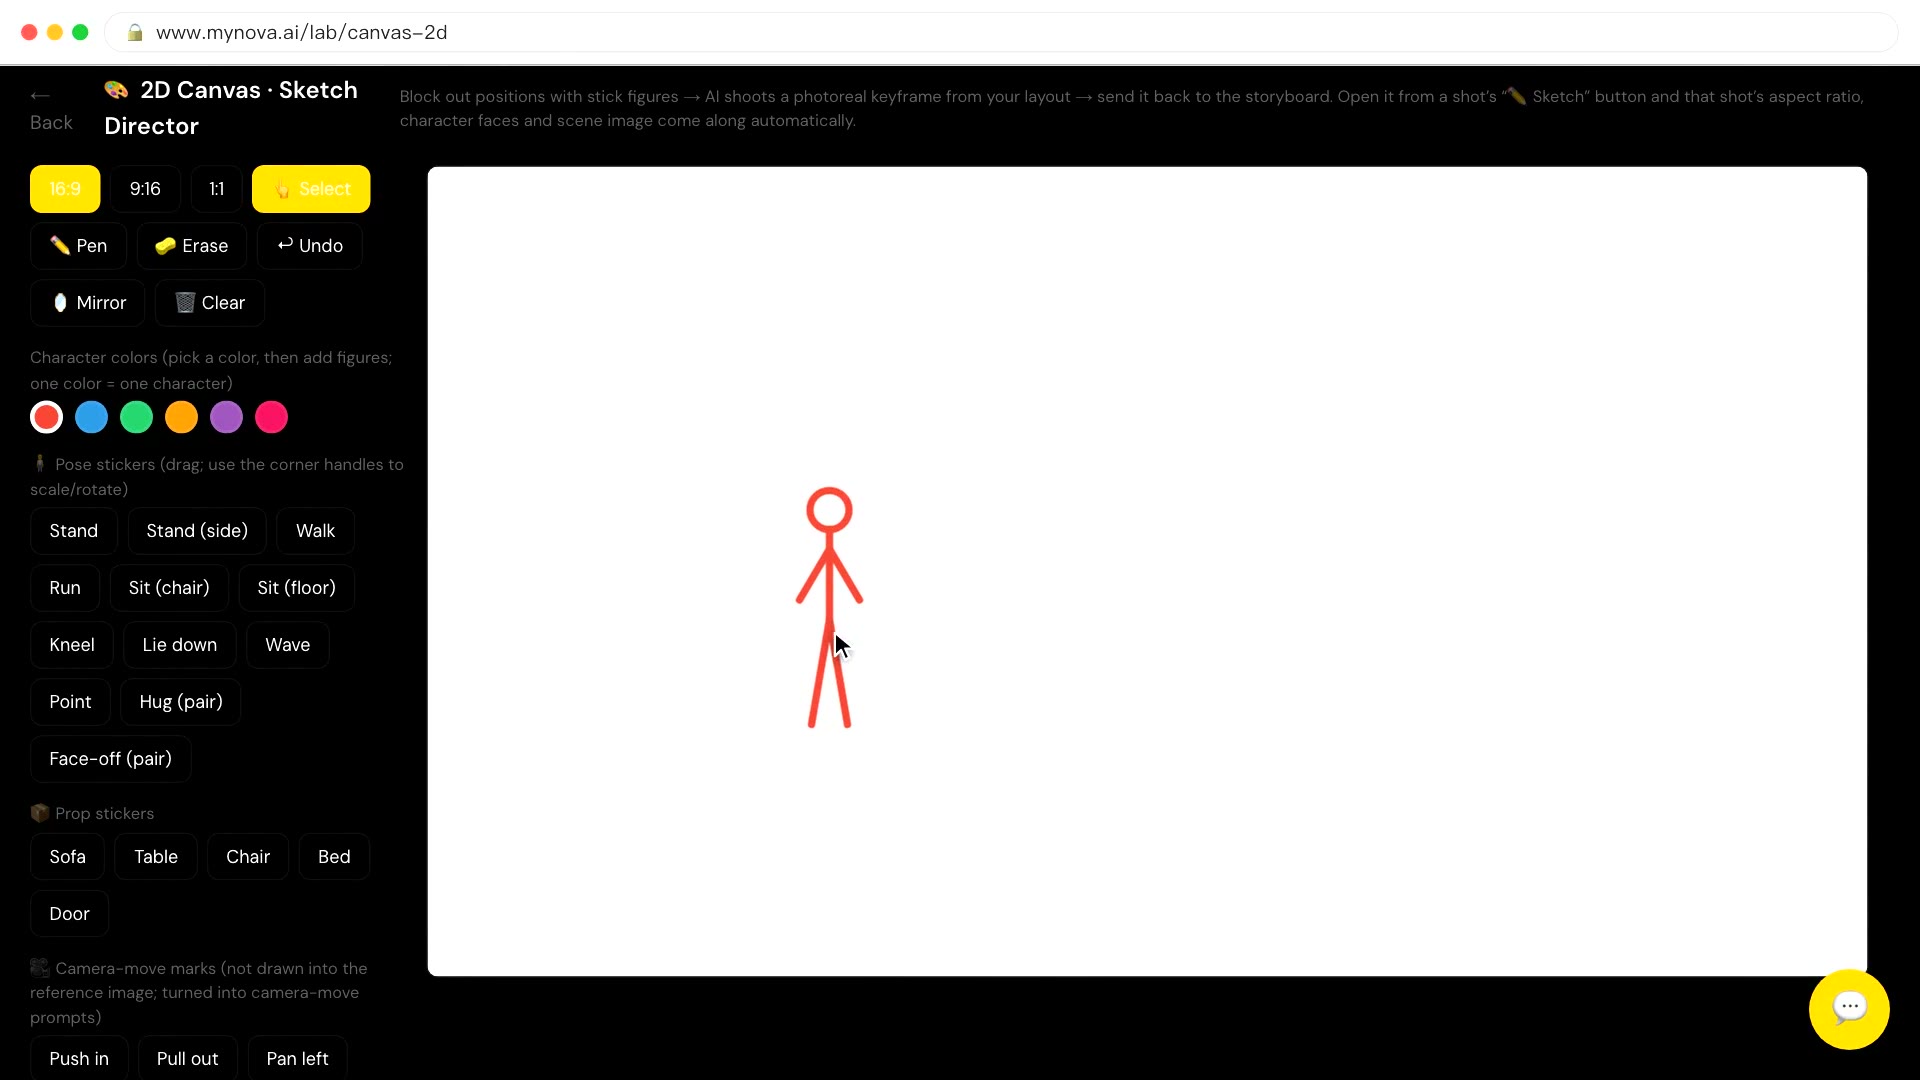

A keyframe rendered from the sketch board once the figures and table were placed. Made with Nova.
→ Lesson 09-08 "Sketch: drag stick figures into place, render a photoreal keyframe"
Keyframes cost credits: you pay the price printed on the button, only when you click, and credits come back if the request errors out.
5. From storyboard to video: draft first, then final
You don't need to render at full quality straight away. Use the draft tier to check framing, then switch to the higher tier once it's right. The lesson compares the two, per 5 seconds: Mini 480p at 55 and Pro 720p at 220, four times as much. The default draft tier in the right panel is Mini 720p, 110 per 5 seconds; the lower-priced 480p option is tucked under more options.
→ Lesson 03-02 "Saving credits, part one — film line: draft on Mini, finish on Pro". You finish knowing when to use Mini (55) vs Pro (220), how to pick resolution by platform, and where take history lives.
FAQ
Can AI generate a storyboard from a script? Yes. Once the script is set, Nova breaks it into shots, each with a description and the characters and scene tagged. Your job is to check each shot and decide which ones need blocking.
How many credits does a storyboard cost? Breaking down an episode is charged once, 55 on the standard tier. Viewing the storyboard and editing descriptions cost nothing. Images, keyframes and video are what cost credits.
Do I need to be able to draw? No. The Director Stage can auto-block a first pass, and Sketch uses stick figures.
How many credits is a keyframe? 50, as printed on the button, in both the Director Stage and Sketch. Director Stage snapshots are free.
Where to start
- Just looking: sign up free, no card needed. 04-01 (one line to a script) and 05-01 (batch render) are among the 10 free lessons.
- To learn the full storyboard workflow: Creator covers every lesson on this page. Compare courses
- Where the storyboard fits in the whole pipeline: AI filmmaking workflow.