The AI filmmaking workflow: from script to final cut
The steps of an AI film are always the same: script, characters, locations, storyboard, render, QC, voice and subtitles, export. The hard part is connecting them: the same character has to carry into every shot, locations have to match, and the lines have to follow the dialogue language.
With node-and-wire workflows, you wire those connections yourself, one by one. In Nova, you describe the shot, and the wiring between characters, looks, scenes and the video model happens behind the screen. For the big picture, watch the industry film.
This map follows the lessons in Nova Academy. Every step has a lesson number, and 01-02, 04-01 and 05-01 are free once you sign up.
Where you start: what do you have?
### A. Just one line Type one line in the writers' room, and the head writer drafts a series Bible, characters and an outline. The writing turn costs credits. Sending it to the red team or the brain trust to find problems doesn't.
→ Lesson 04-01 "One line becomes a script — then tear it apart for free" (free). You finish with a complete 3-minute script, with its series Bible, characters and outline. → For exactly which line in the writers' room starts costing: 04-04 "The writers' room: how the staged conversation runs, and which line starts costing".
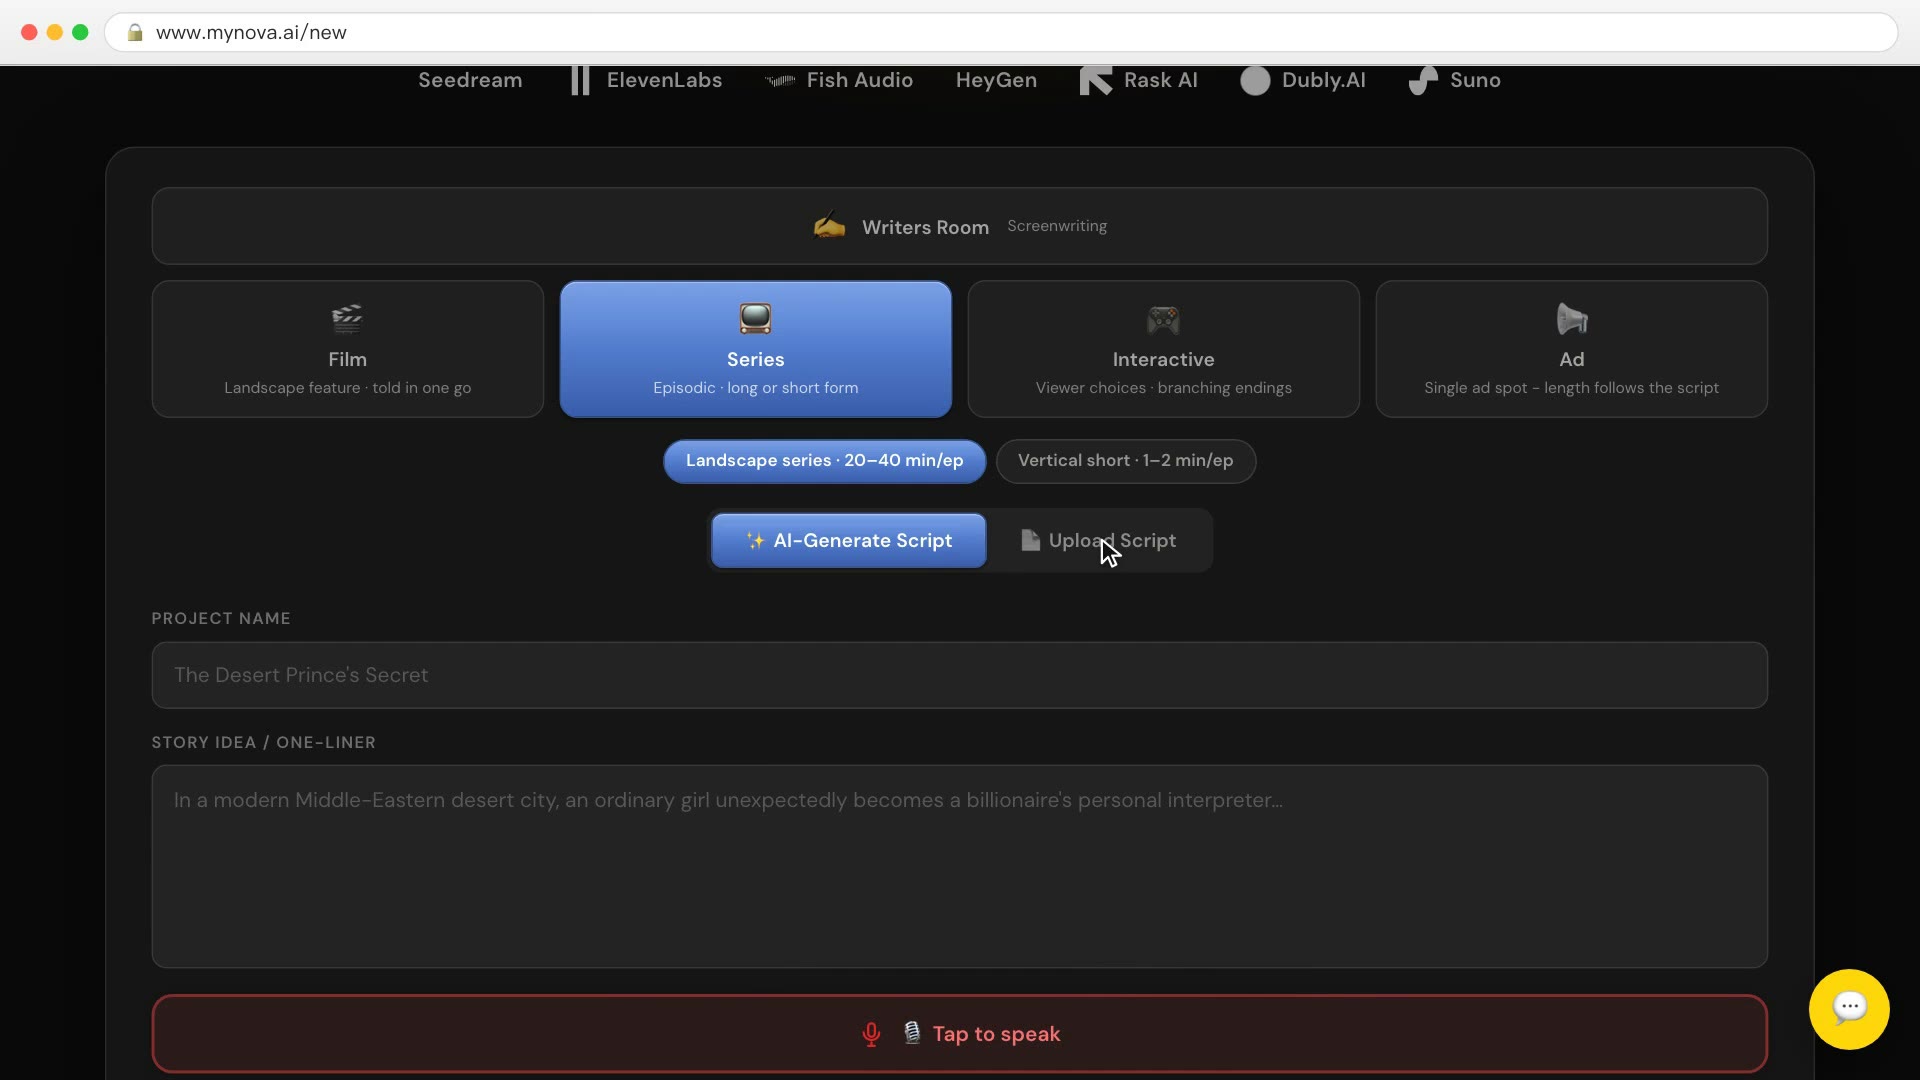
### B. A script you've already written Start a new Series project, pick the episode length (landscape series at 20–40 minutes an episode, or vertical short at 1–2 minutes), switch to uploading a script and drop your file in. Importing and splitting into episodes cost no credits.
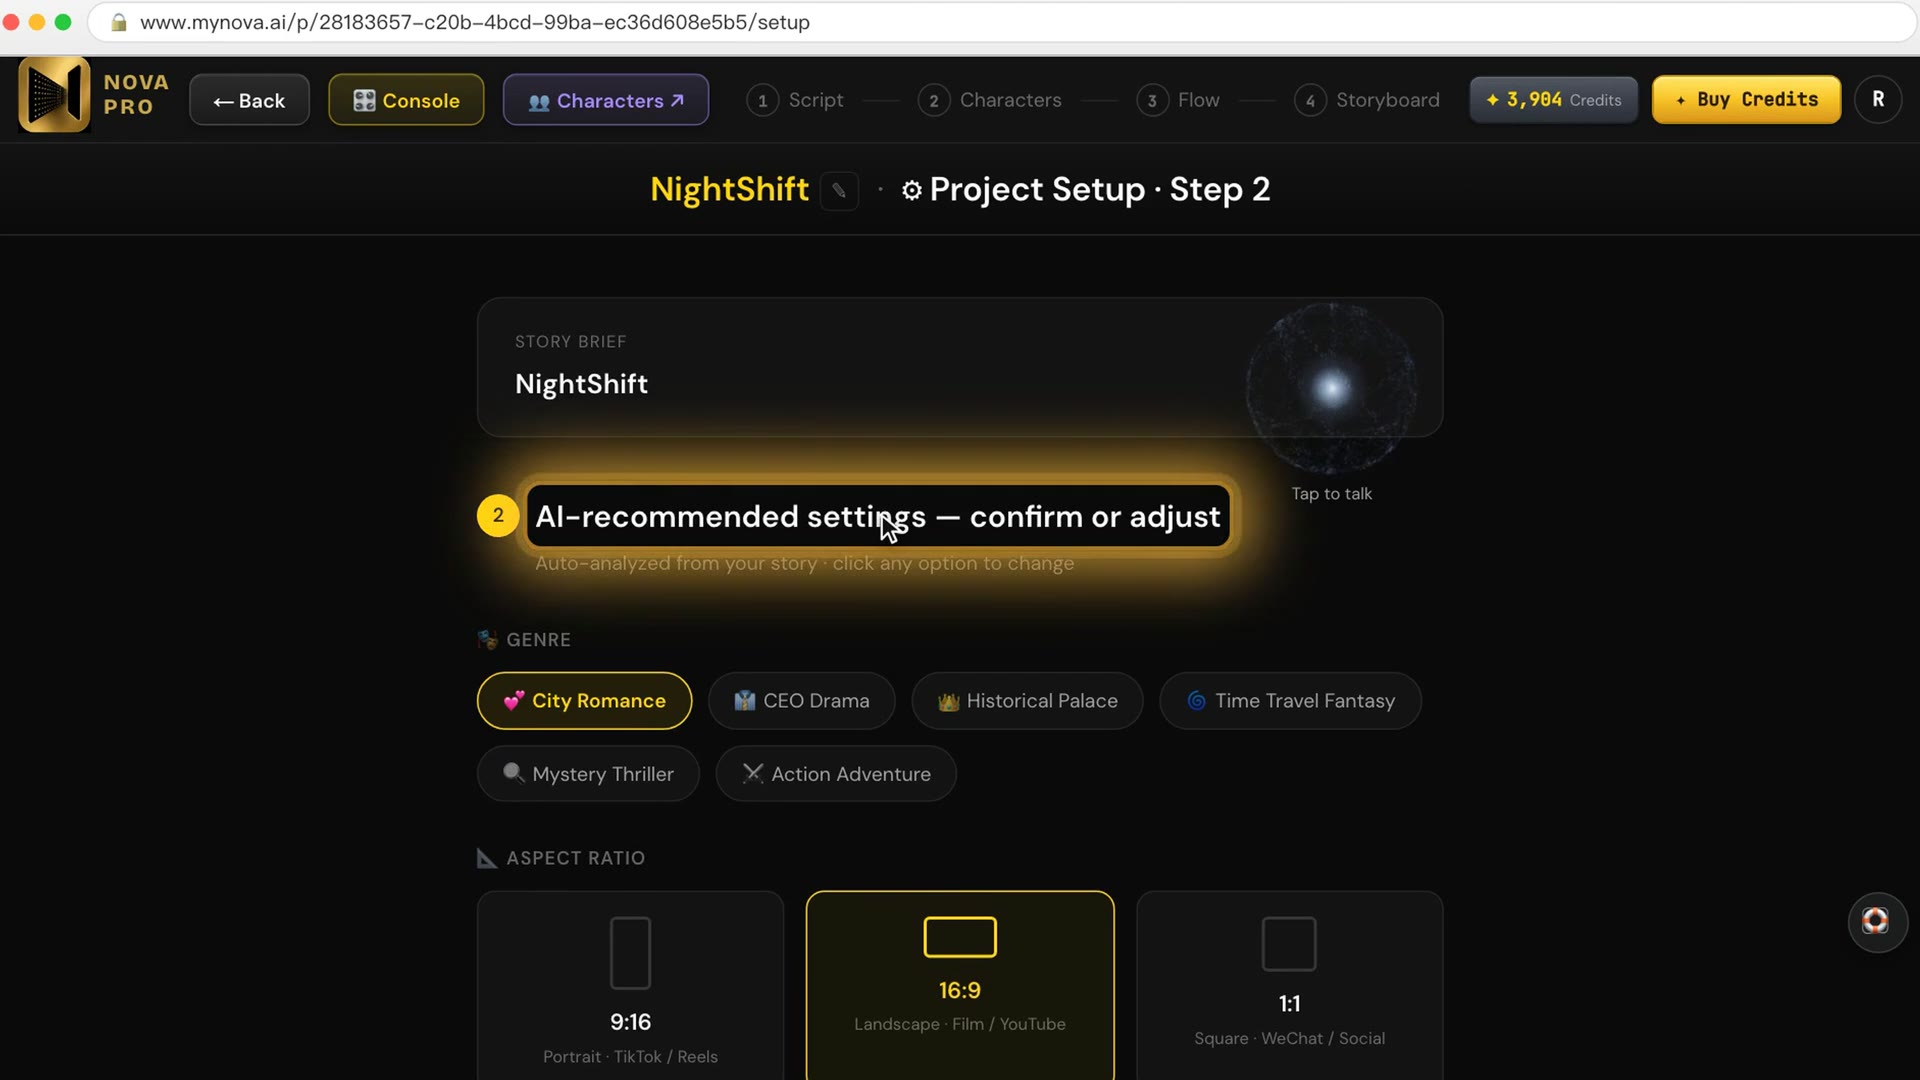
Nova reads the script and pre-selects four things: genre, aspect ratio, dialogue language and visual style. Confirm or adjust. Check the dialogue language in particular: the lines follow the language of your script.
Confirming takes you straight to the Characters page, which reads the script for the cast and then breaks down each character's outfits. That first visit charges: cast read 80 + outfit scan 55 = 135 credits. Coming back later doesn't charge again.
→ Lesson 09-01 "You already have a script: from a file to a cast list"
### C. An ad In a new ad you can just say what you want to shoot: Nova writes the script and takes you to the characters, then the shots. Or start from a ready-made template, or let AI read your materials and pitch a few directions first. On the template route you first get a written plan (who it's for, the core idea, a shot summary, the estimated cost), and nothing is made until you approve it. That estimate covers rendering only; planning the shots is another 55 credits.
→ Lesson 01-02 "Plan every shot from a ready-made script" (free). You finish with an ad project and 3–4 planned shots, each with a visual description and on-screen text. The full walkthrough: AI video ads.
Every step after that
| Step | What you do | Lesson | You finish with |
|---|---|---|---|
| Characters | Looks and headshots for each character; clear the red warnings | 04-02 | 3 characters × 2 looks + 3 headshots |
| Storyboard and locations | Break the script into shots, @-tag characters and scene, make location plates | 04-03 | A 36-shot storyboard for one episode |
| Render | Batch-render the episode | 05-01 (free) | Final video footage for a whole episode |
| QC | The judge flags problem shots; you decide which to fix | 05-02 | A QC report |
| Production room: voice, subtitles, merge | Get to know the episode's production room — the clip list and the seven material rows ("Episode Cover", "Intro", "Outro", "Background Music", "Character TTS", "Subtitles SRT", "Video Output Options") — then add voice, burn in subtitles and merge; the burned-in version and the clean master are two exports | 05-T2 → 05-03 | A clean master MP4, a burned-in-subtitle version, and a separate SRT |
| Fine cut (optional) | To fix pacing, transitions or subtitle position, click "NovaCut Timeline Editor" in the production room, then "Export video" when you're done | 05-T3 | A fine-cut final video |
The fine cut is optional. Skip it and click "🎬 Merge & Download Final MP4" in the production room to get the finished video. Merging and downloading, and exporting from the editor, cost no credits; what does cost credits in the production room is the cover, the outro animation and any voiced lines you turn on. Background music only comes into the editor if you added it in the production room; see add music and transitions to a video.
To see one film go through every step, read how to make an AI short film. For a series made episode by episode, read AI short drama.
Finding what you've made: every image you make goes into your Asset Library automatically (avatar menu → "Asset Library"). You can filter by type and project, search, download, or click "Edit" to go back to the tool that made the image. Deleting an image that belongs to a project only takes it out of the library; the original stays in the project. A standalone image (for example one from Image Gen) is gone for good once you delete it. → Lesson 07-T3 "Asset and camera-move libraries: everything you've made, and moves you can borrow" (Extensions pack, included in Studio)
Which steps cost credits
- No credits: importing a script and splitting episodes; red team and brain trust reviews of the script; the judge's QC flags.
- Credits: the writing turn in the writers' room; the first visit to the Characters page (cast read and outfit scan); image and video rendering; applying QC fixes.
- Rendering is where most credits go. Every lesson shows where the spending buttons are and whether they quote a price first. To save before you ever click Generate, see the free lesson 03-01 (ad line).
Where to start
- Just looking: sign up free, no card needed. 01-02, 04-01 and 05-01 are among the 10 free lessons.
- Ads only: Starter. Short films, short dramas, or importing your own script: Creator. Compare courses